When I discovered that a friend of mine had an old non-working HP 1741A oscilloscope, I jumped at the chance to try to repair it. The lucky guy got it for free a few years ago. He didn't know what was wrong with it and had never actually played with it. It was just sitting in his basement gathering (a lot!) of dust. What a shame!
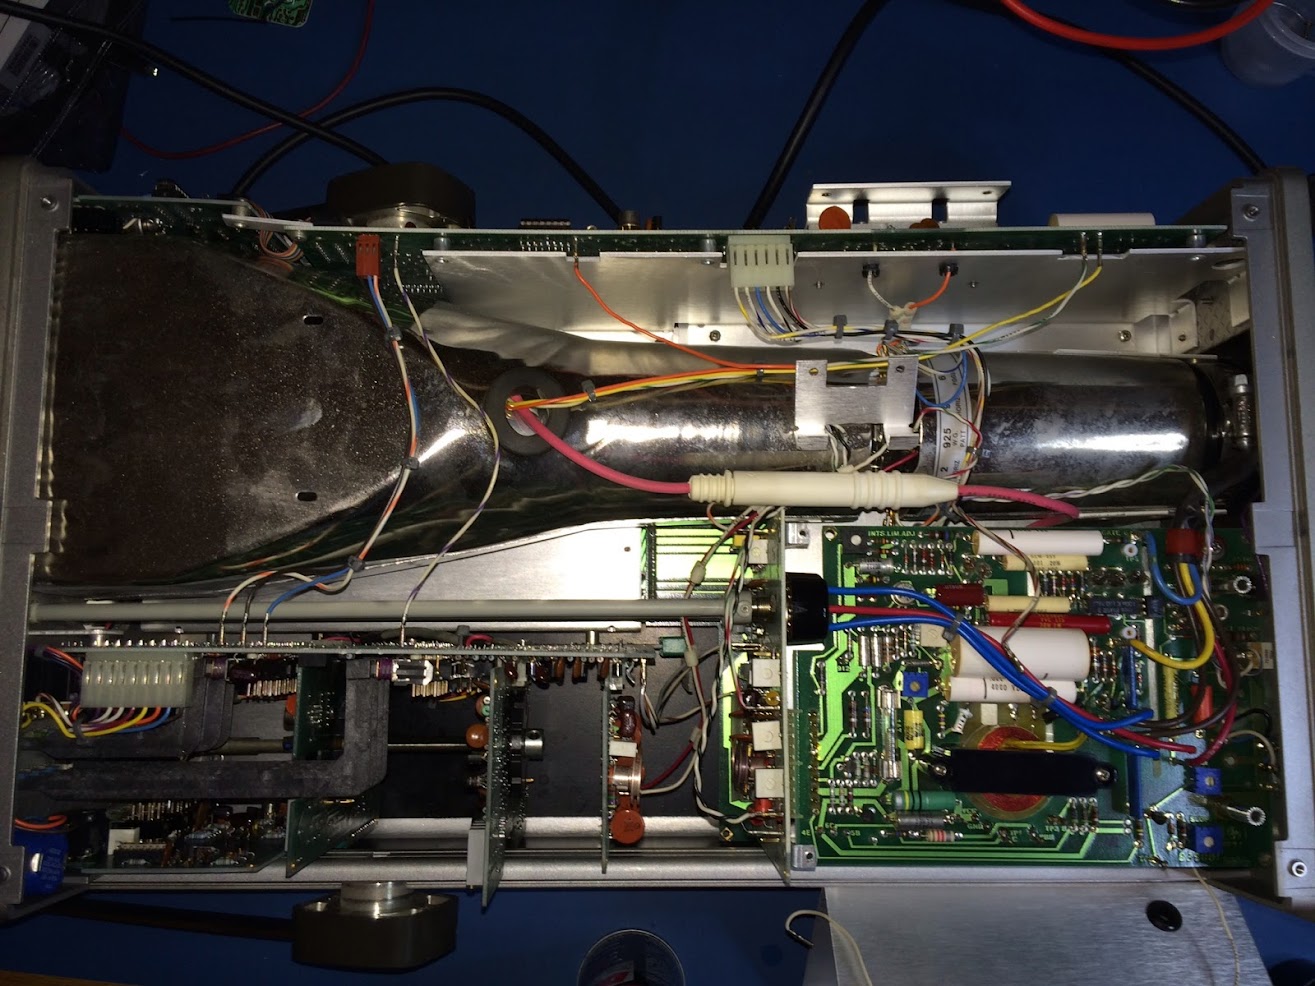
It came to me dirty and disused, with no power cord or fuse holder. But I was in for a pleasant surprise when I opened it, it was beautiful inside!

Filled with optimism, I contacted a friend who works for Agilent and he scrounged a fuse holder that he had laying around. I put in a fresh fuse, powered it up, and was greeted by the sound of a swarm of angry bees coming from the transformer. Luckily I had read Tekfan's awesome post about his restoration of a 1741A:
https://www.eevblog.com/forum/testgear/hp-1741a-oscilloscope-restoration-project/So I knew that this was almost certainly a problem with one or more of the bridge rectifiers on the low voltage power supply board. Sure enough, a quick visual inspection revealed burn marks and scorching around a couple of the rectifiers.


Removing the rectifiers revealed significant damage to the board.
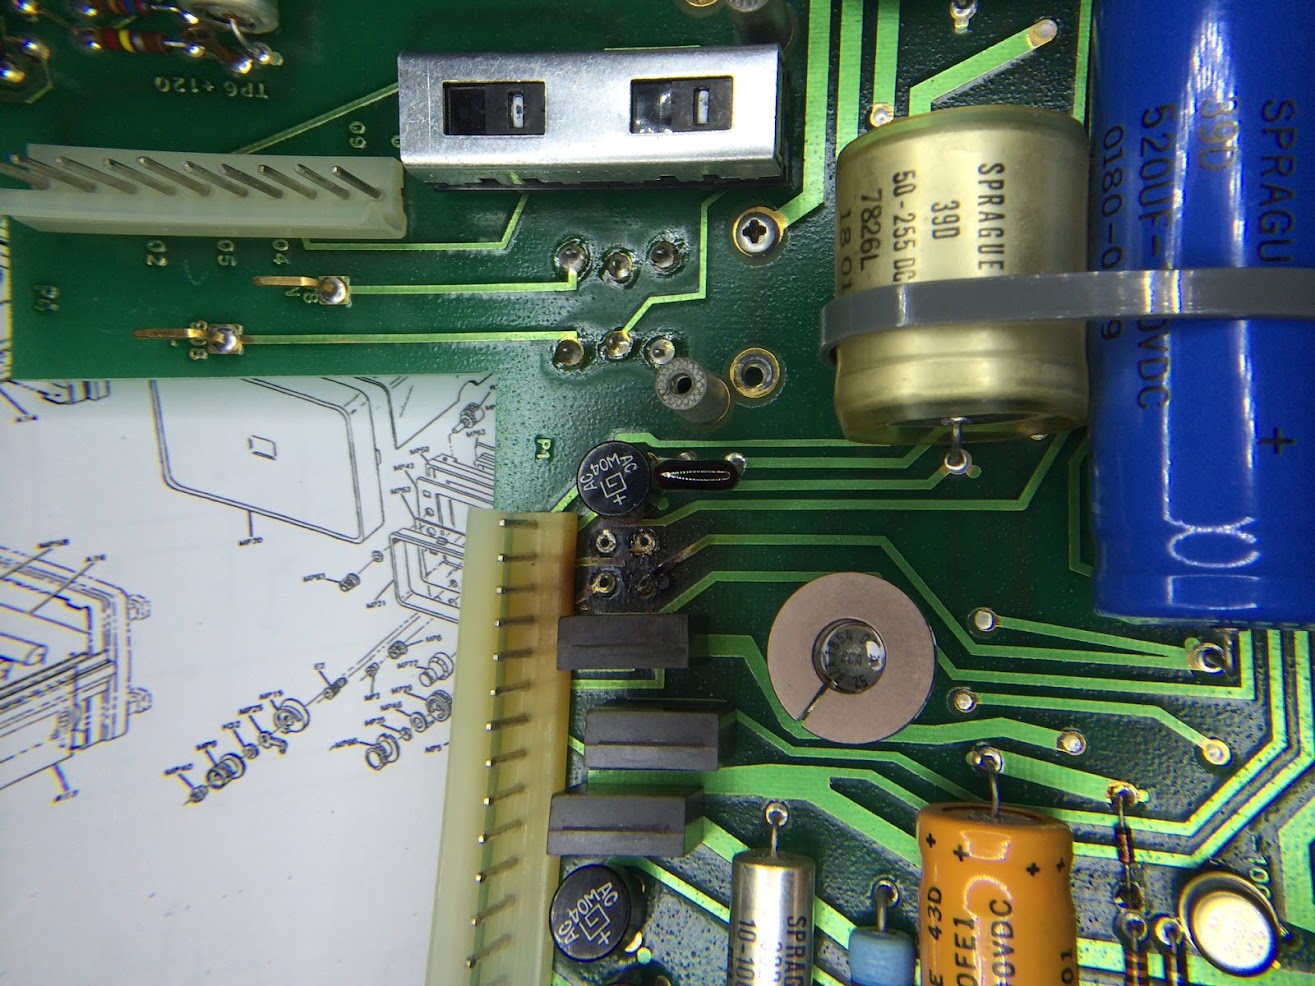
It was difficult to find inexpensive exact replacements for the rectangular rectifier, so I just substituted an inexpensive part with slightly better specs. I decided to look around the LVPS board more carefully in case the shorted rectifier had caused other problems or there were some leaking or obviously bad capacitors. Ah ha! These two certainly look suspicious.
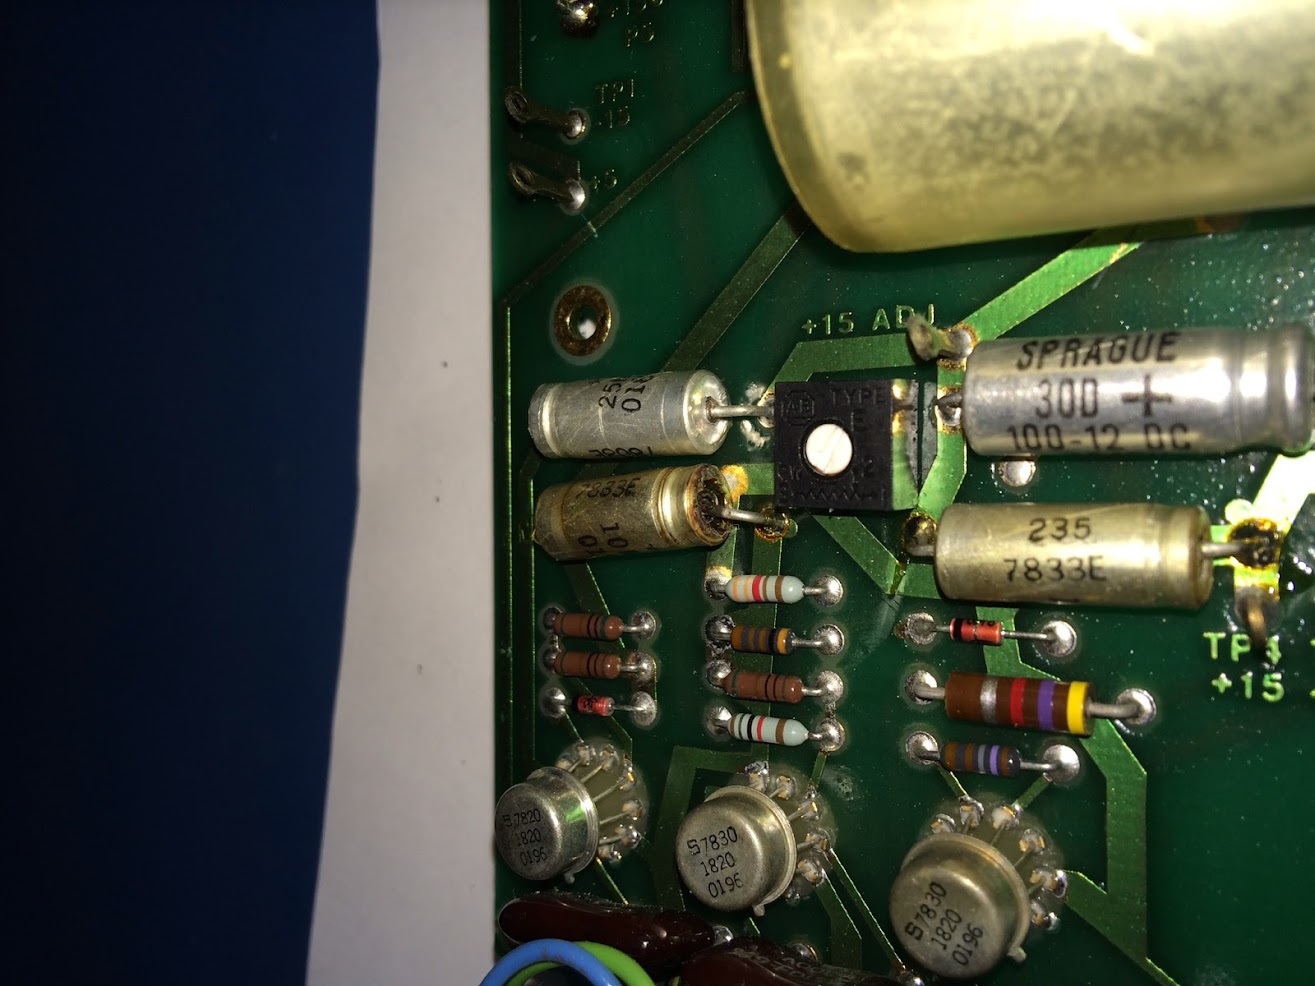
Lifting them out of the circuit, the one on the left was definitely bad (pretty obvious), but the one on the right tested good. What the heck, they're cheap and I've already got them out; I just replaced them both. After plugging the transformer back into the LVPS and carefully applying power, all of the voltage test points check out!
I also removed the CRT to repair some cosmetic damage to the border. After putting it back together, cleaning it up, and a little tuning and calibration:
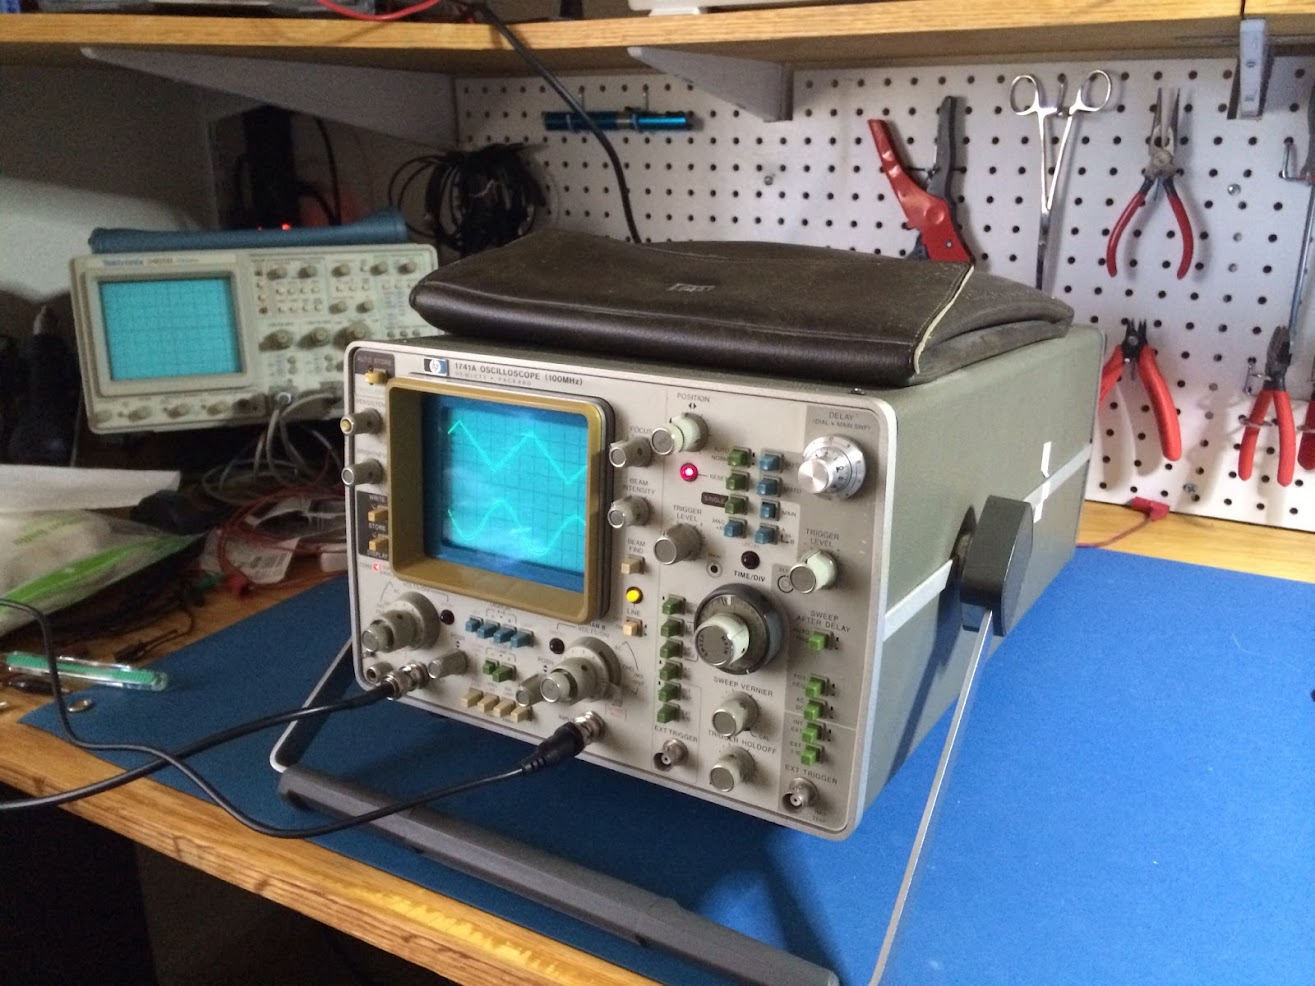
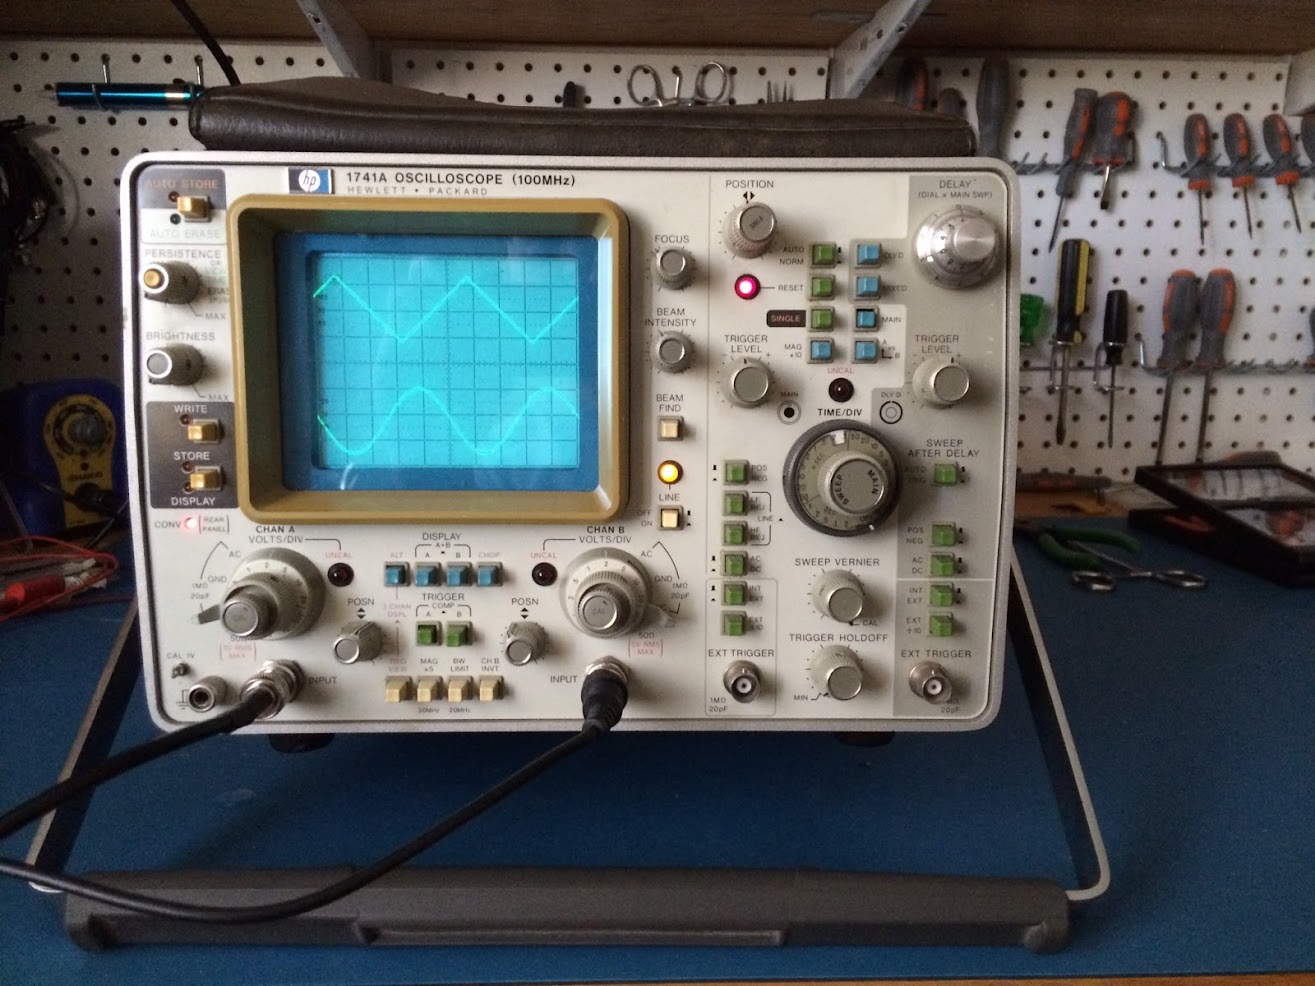
Success! Thanks to information on this forum, I was able to save a beautiful piece of test equipment from the scrap heap. I returned the scope and gave my friend a quick Oscilloscope 101 lesson. He's now happy and excited to start exploring the world of electronics. It was definitely a fun and interesting project.


