The object of this thread is to demonstrate an alternate cleaning method for the Tektronix attenuator switch decks used on multiple plug-ins and scopes in the 1970's and 1980's. These decks use gold plated “finger contacts” against a special board to achieve specific attenuation ranges. The cleaning method recommended by Tektronix has been IPA only. But unfortunately after years of contamination buildup and wear and tear in many cases IPA will not restore normal operation. So I decided to perform an experiment on a 7A24 vertical plug-in that was hopelessly intermittent on multiple ranges on both channel 1 and 2 even after multiple cleanings with IPA and see if I could restore normal operation.
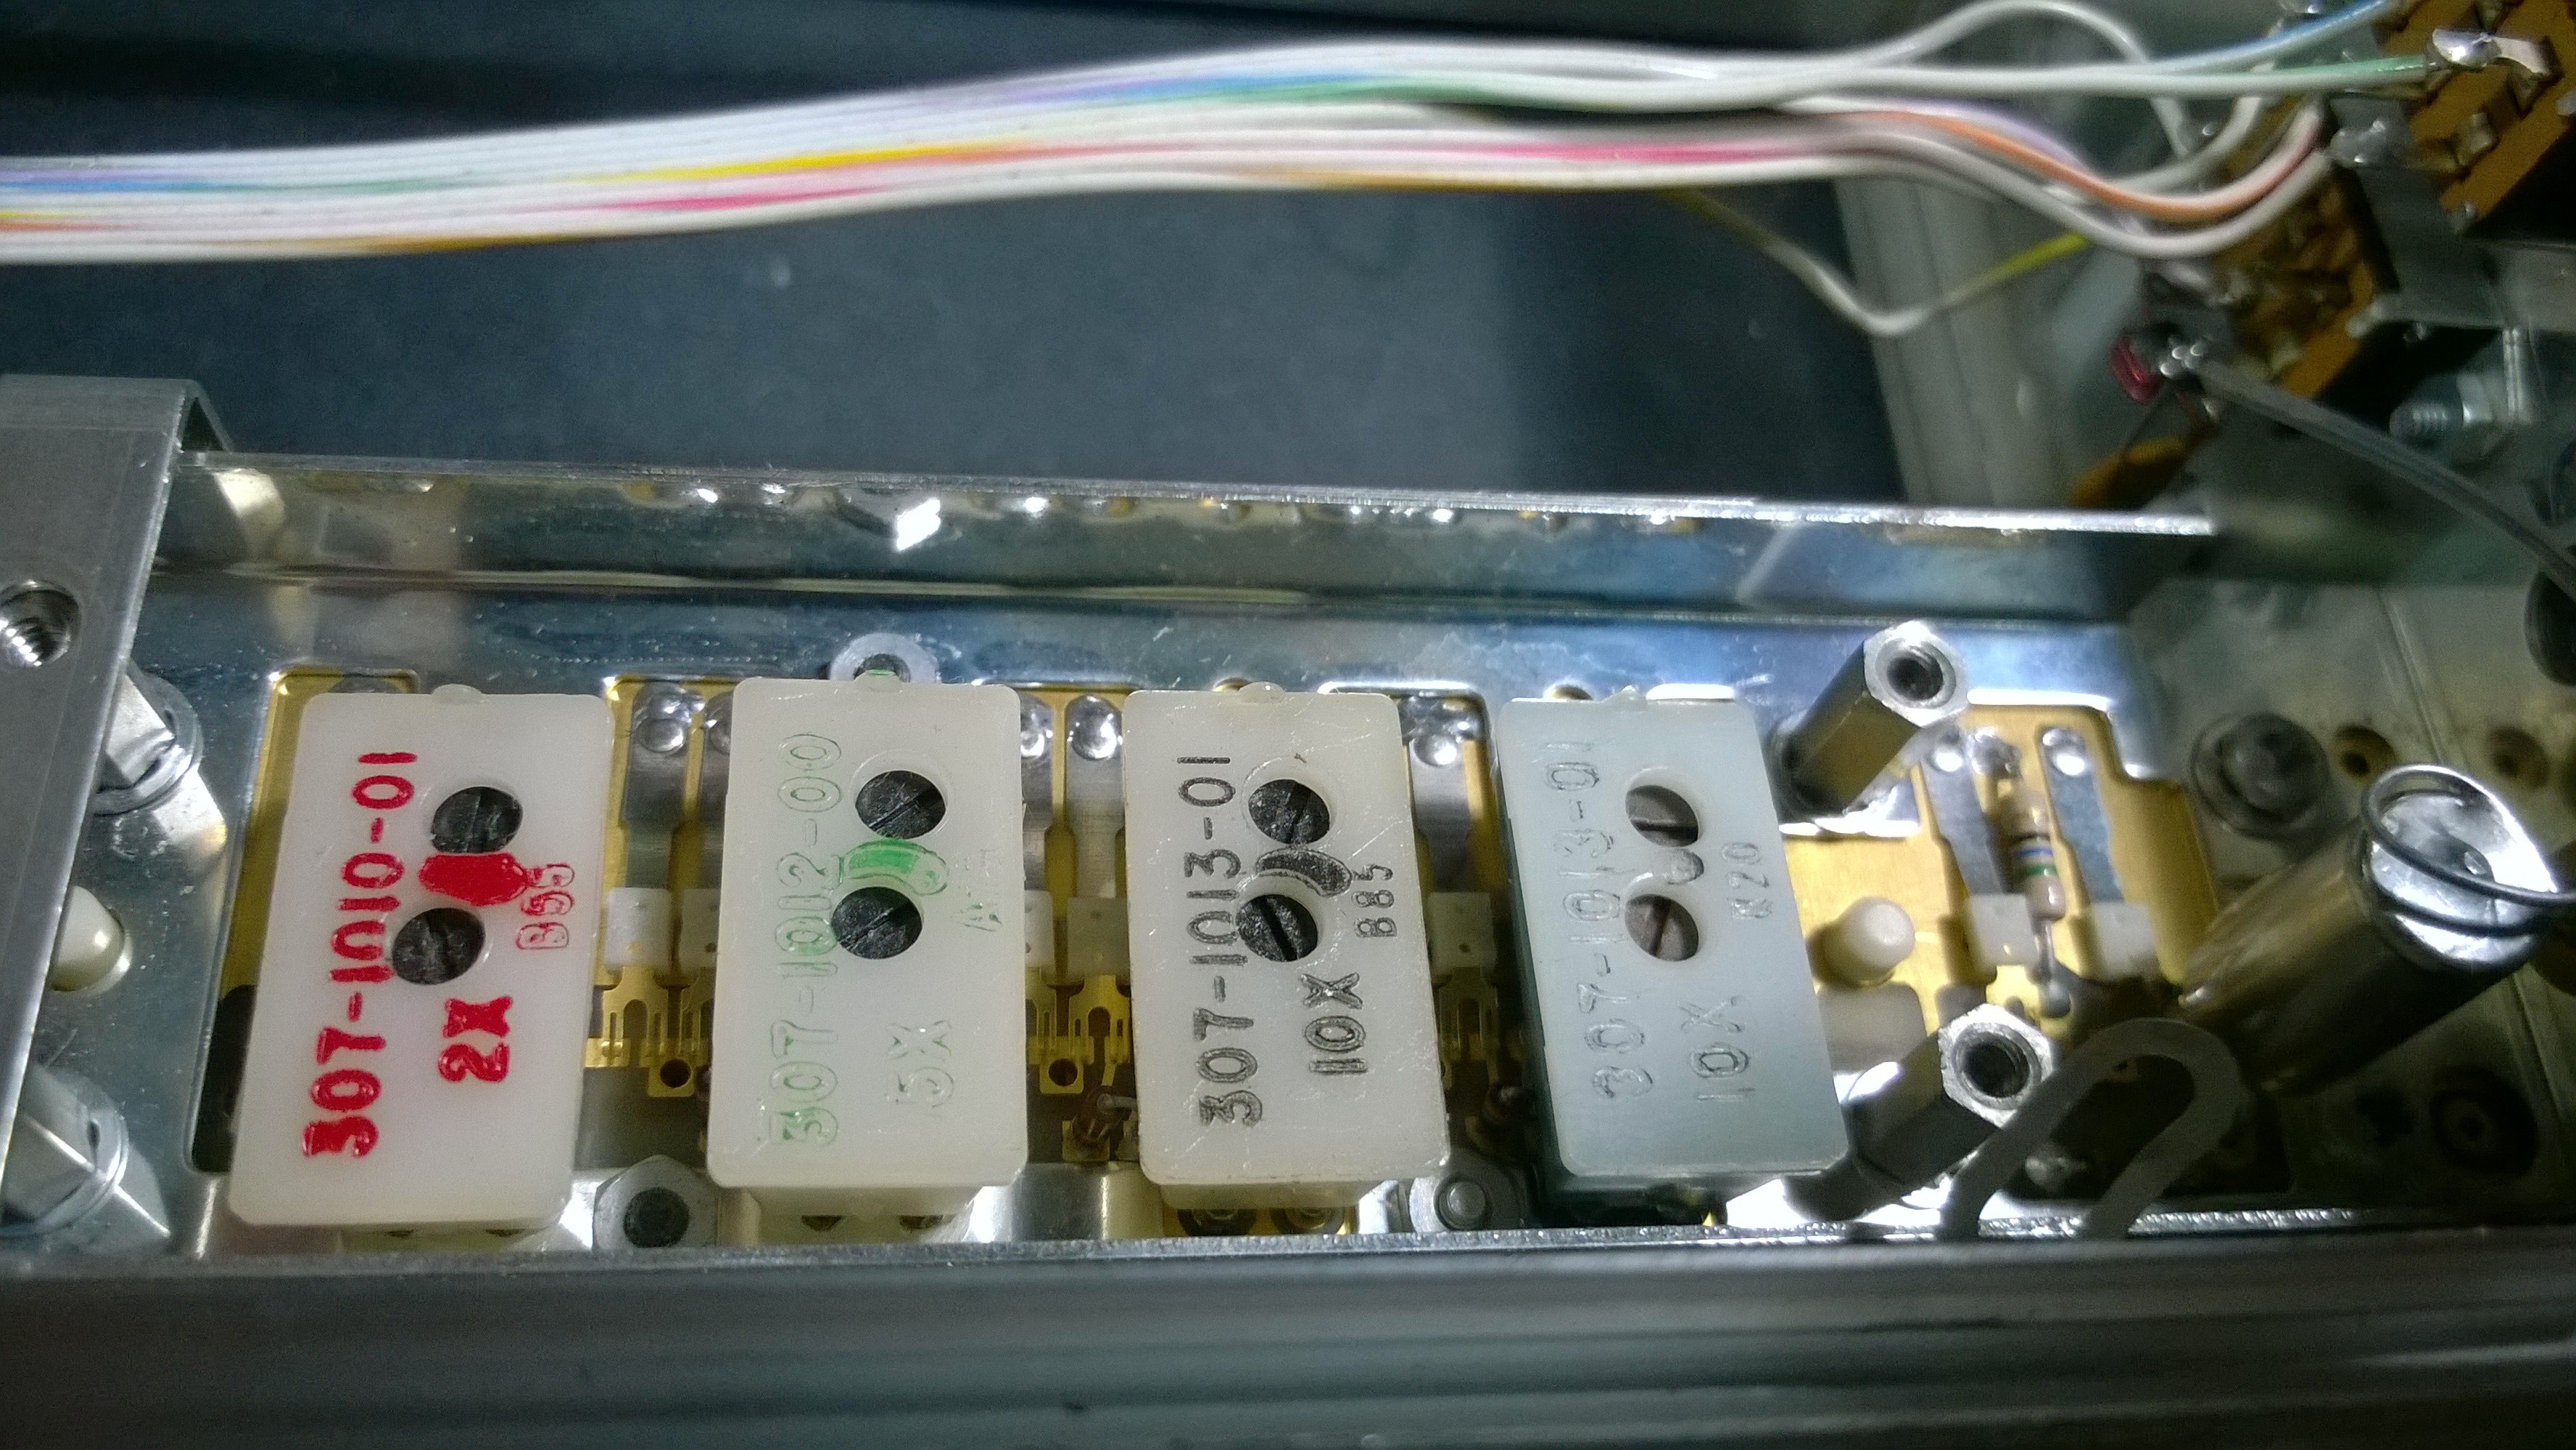
Here is a typical 50 ohm attenuator switch deck. This is the 7A24 which will be used in this experiment. The boards will be removed and stripped down.

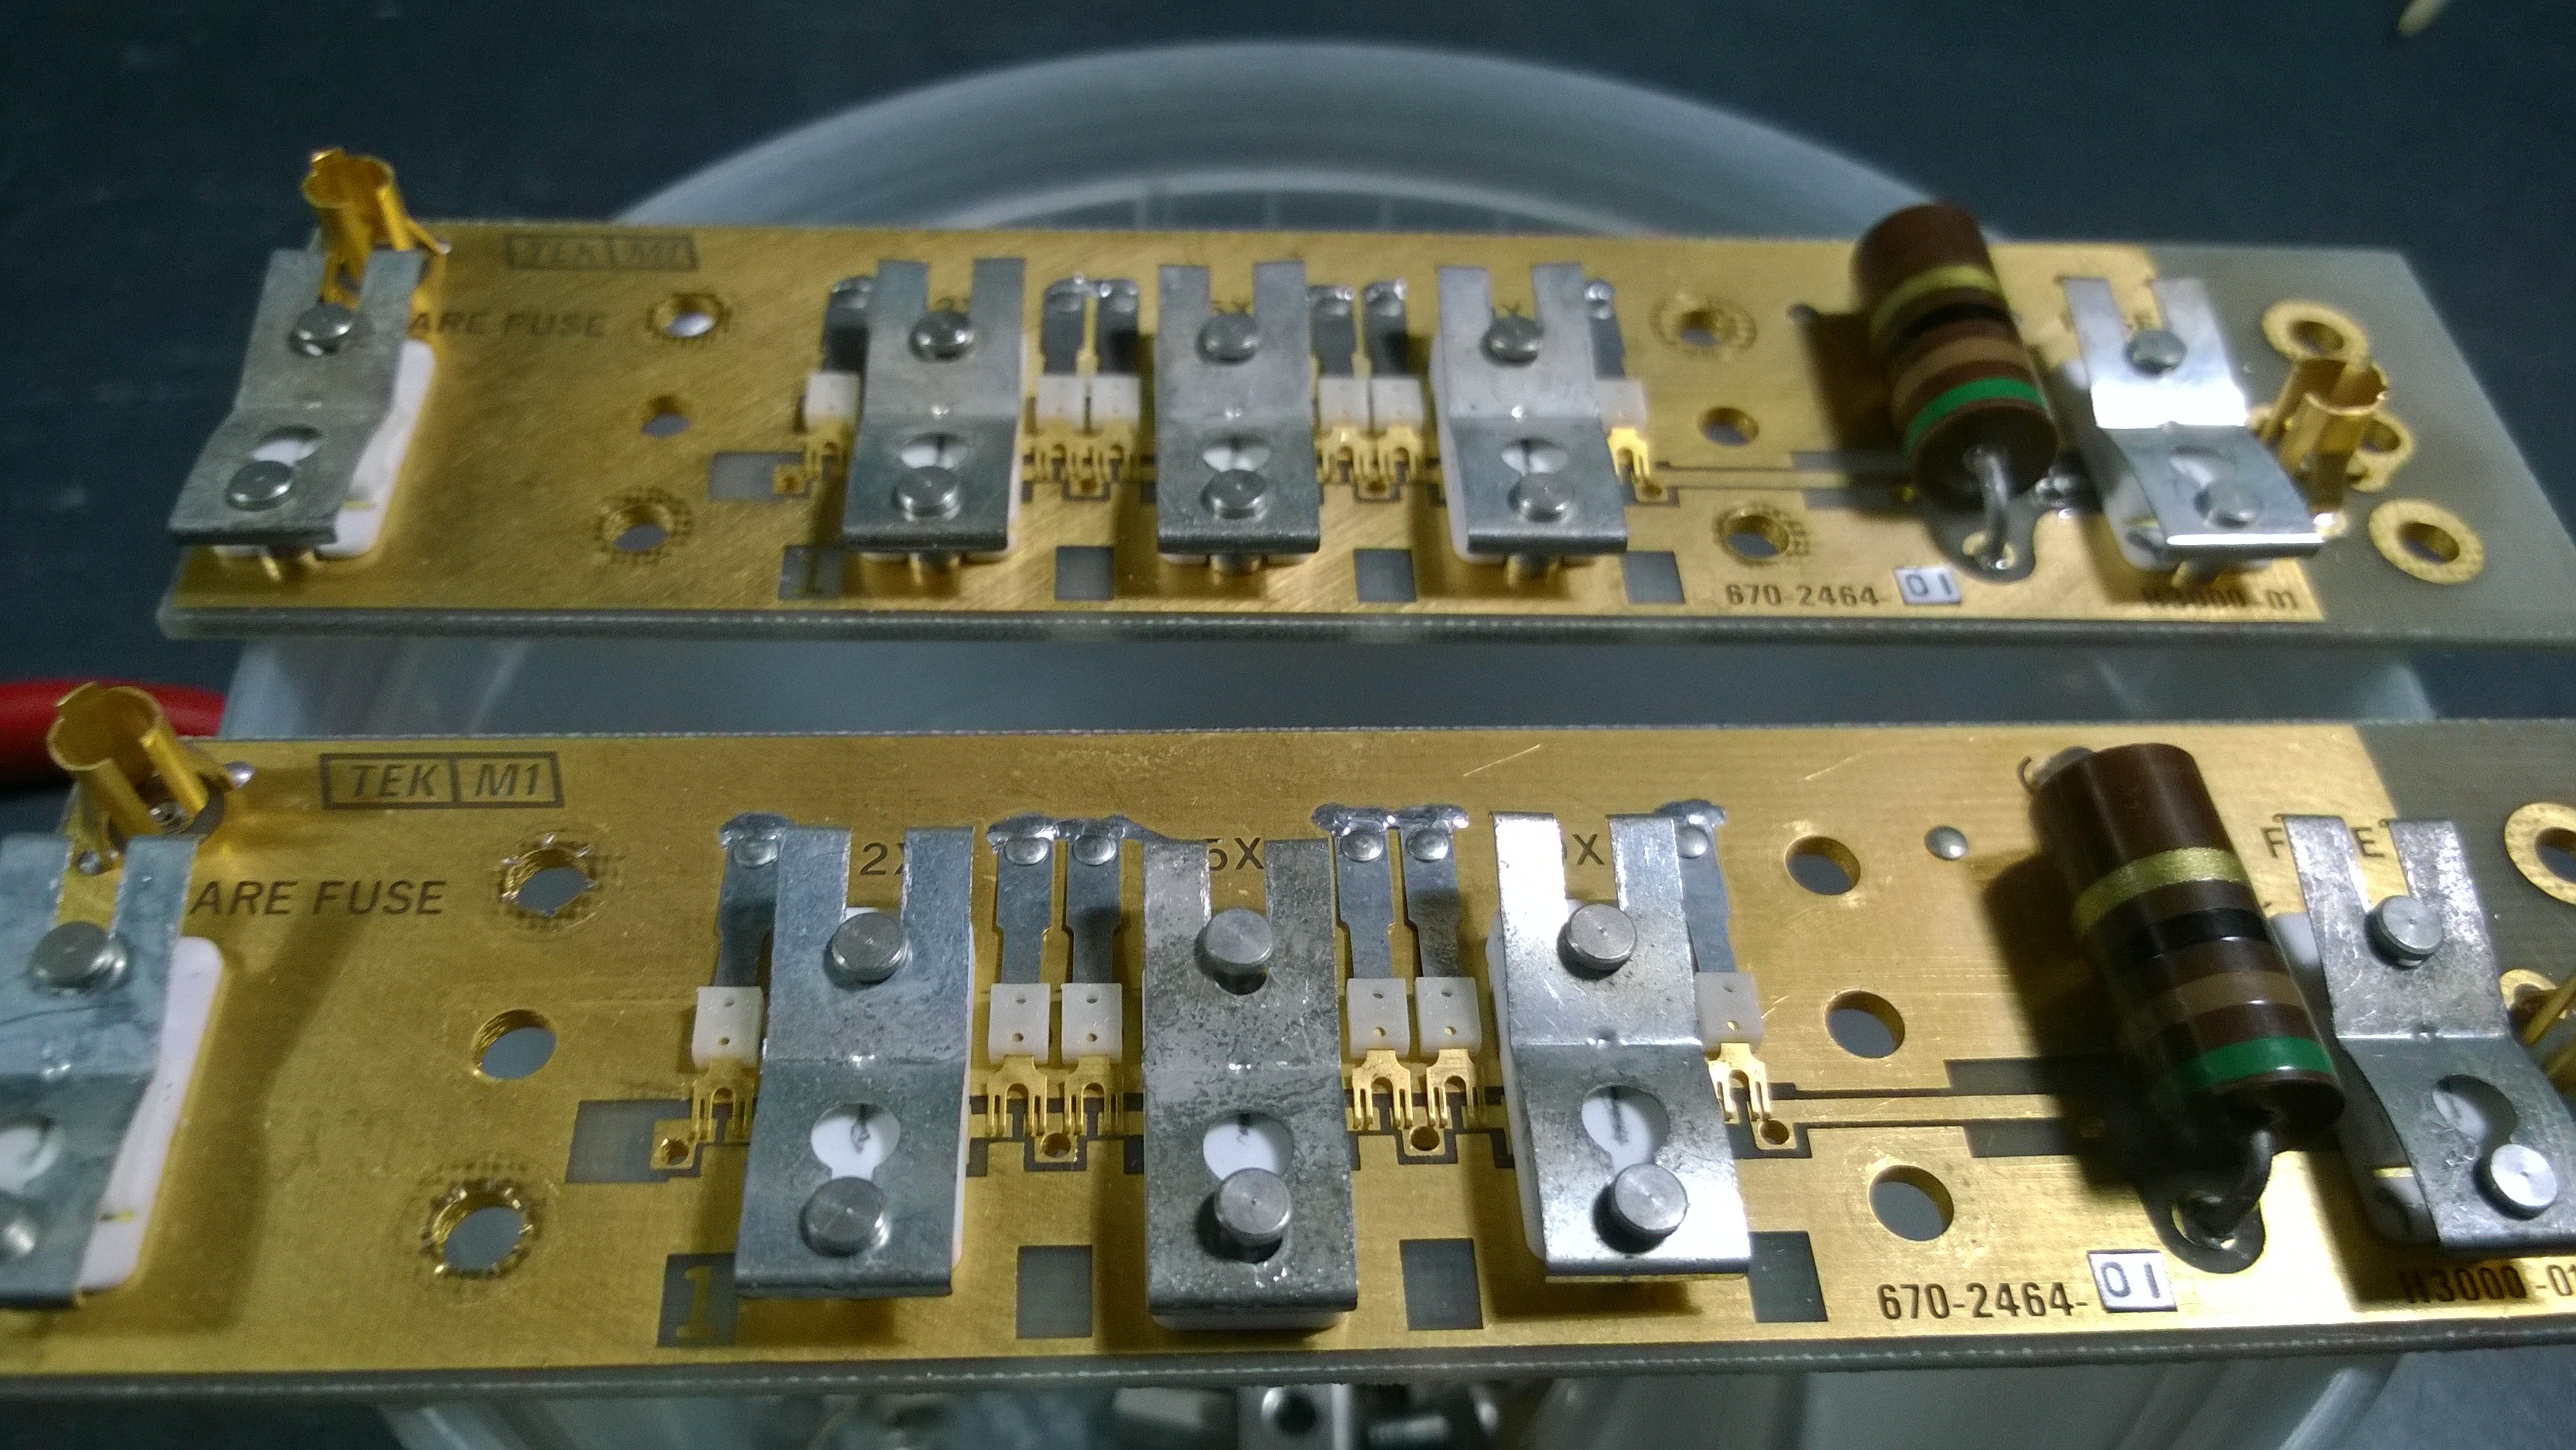
Here is a typical 1MEG attenuator switch deck. This is from a 7A15A. This cleaning method will involve removing the assembly and stripping down the board so be sure to keep the attenuator blocks with the same board and location to minimize the amount of compensation required after reassembly.
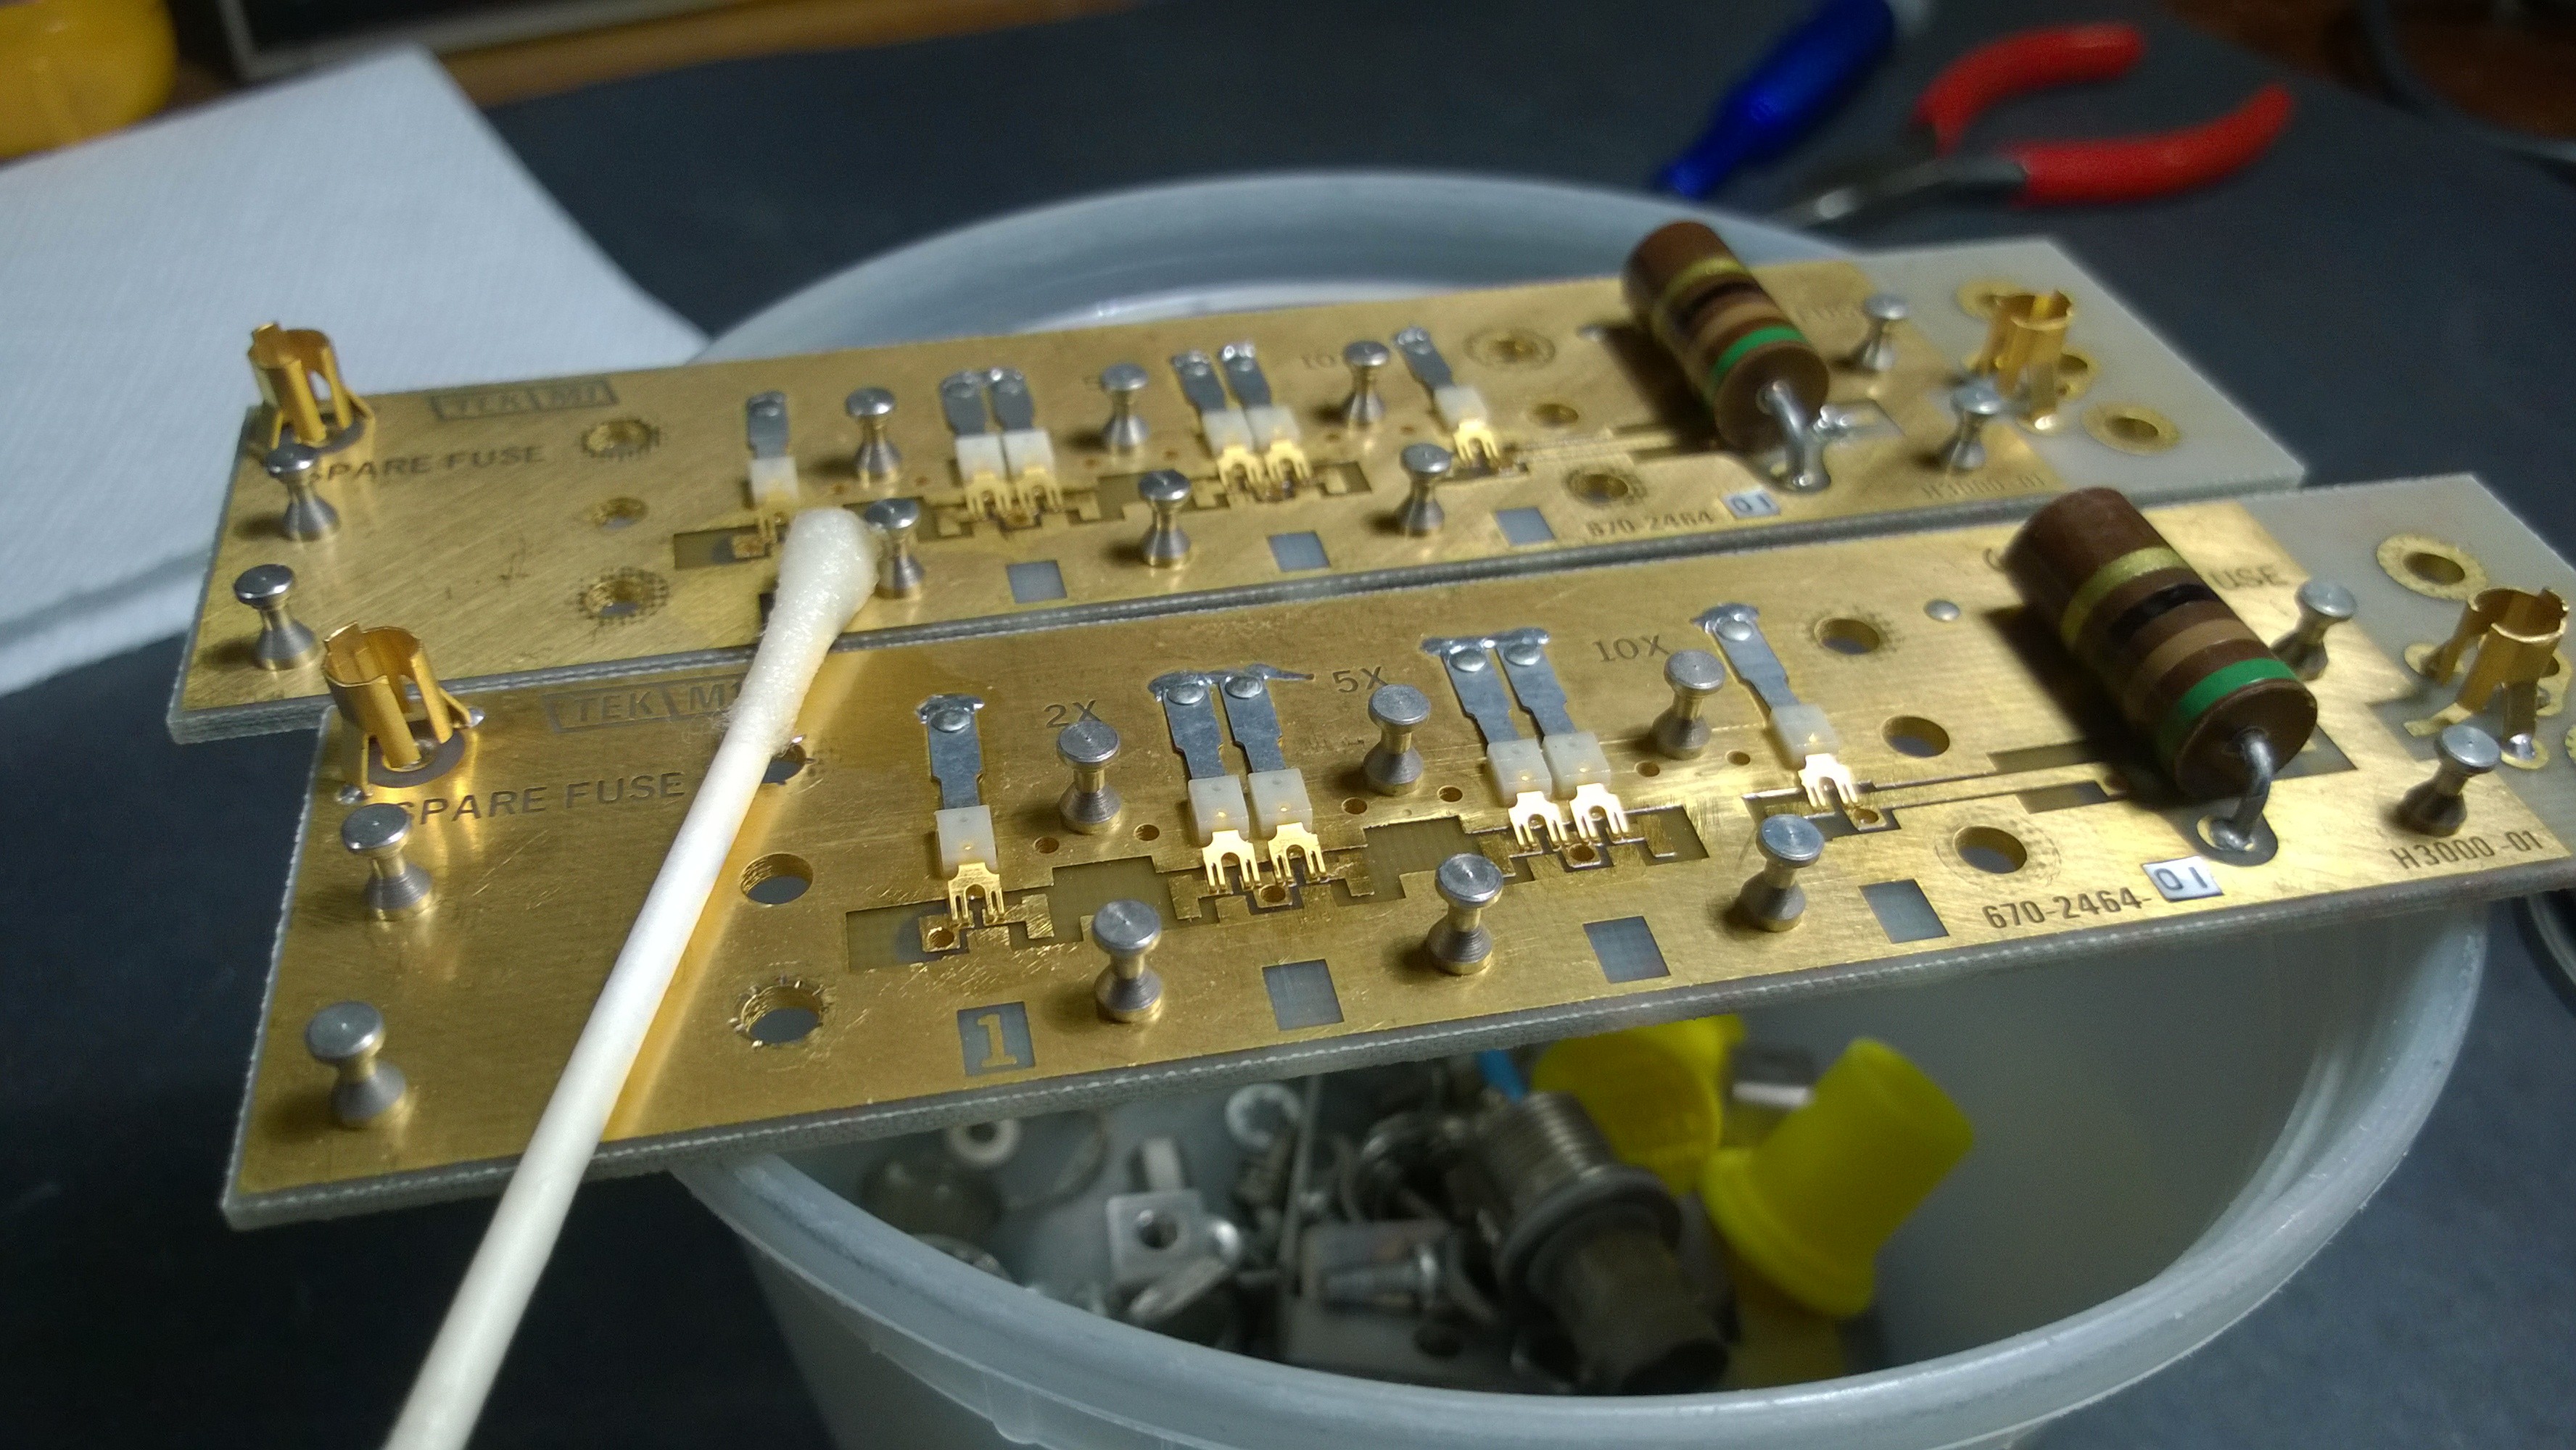
Here's the attenuator boards removed. There are finger contacts on both sides of the board so have the boards elevated as shown. Those contacts can be easily damaged.
Remove the attenuator blocks. It's best to keep track of which board they came from but not absolutely necessary for 50 ohm input. For 1MEG input keeping track will minimize compensation after reassembly.

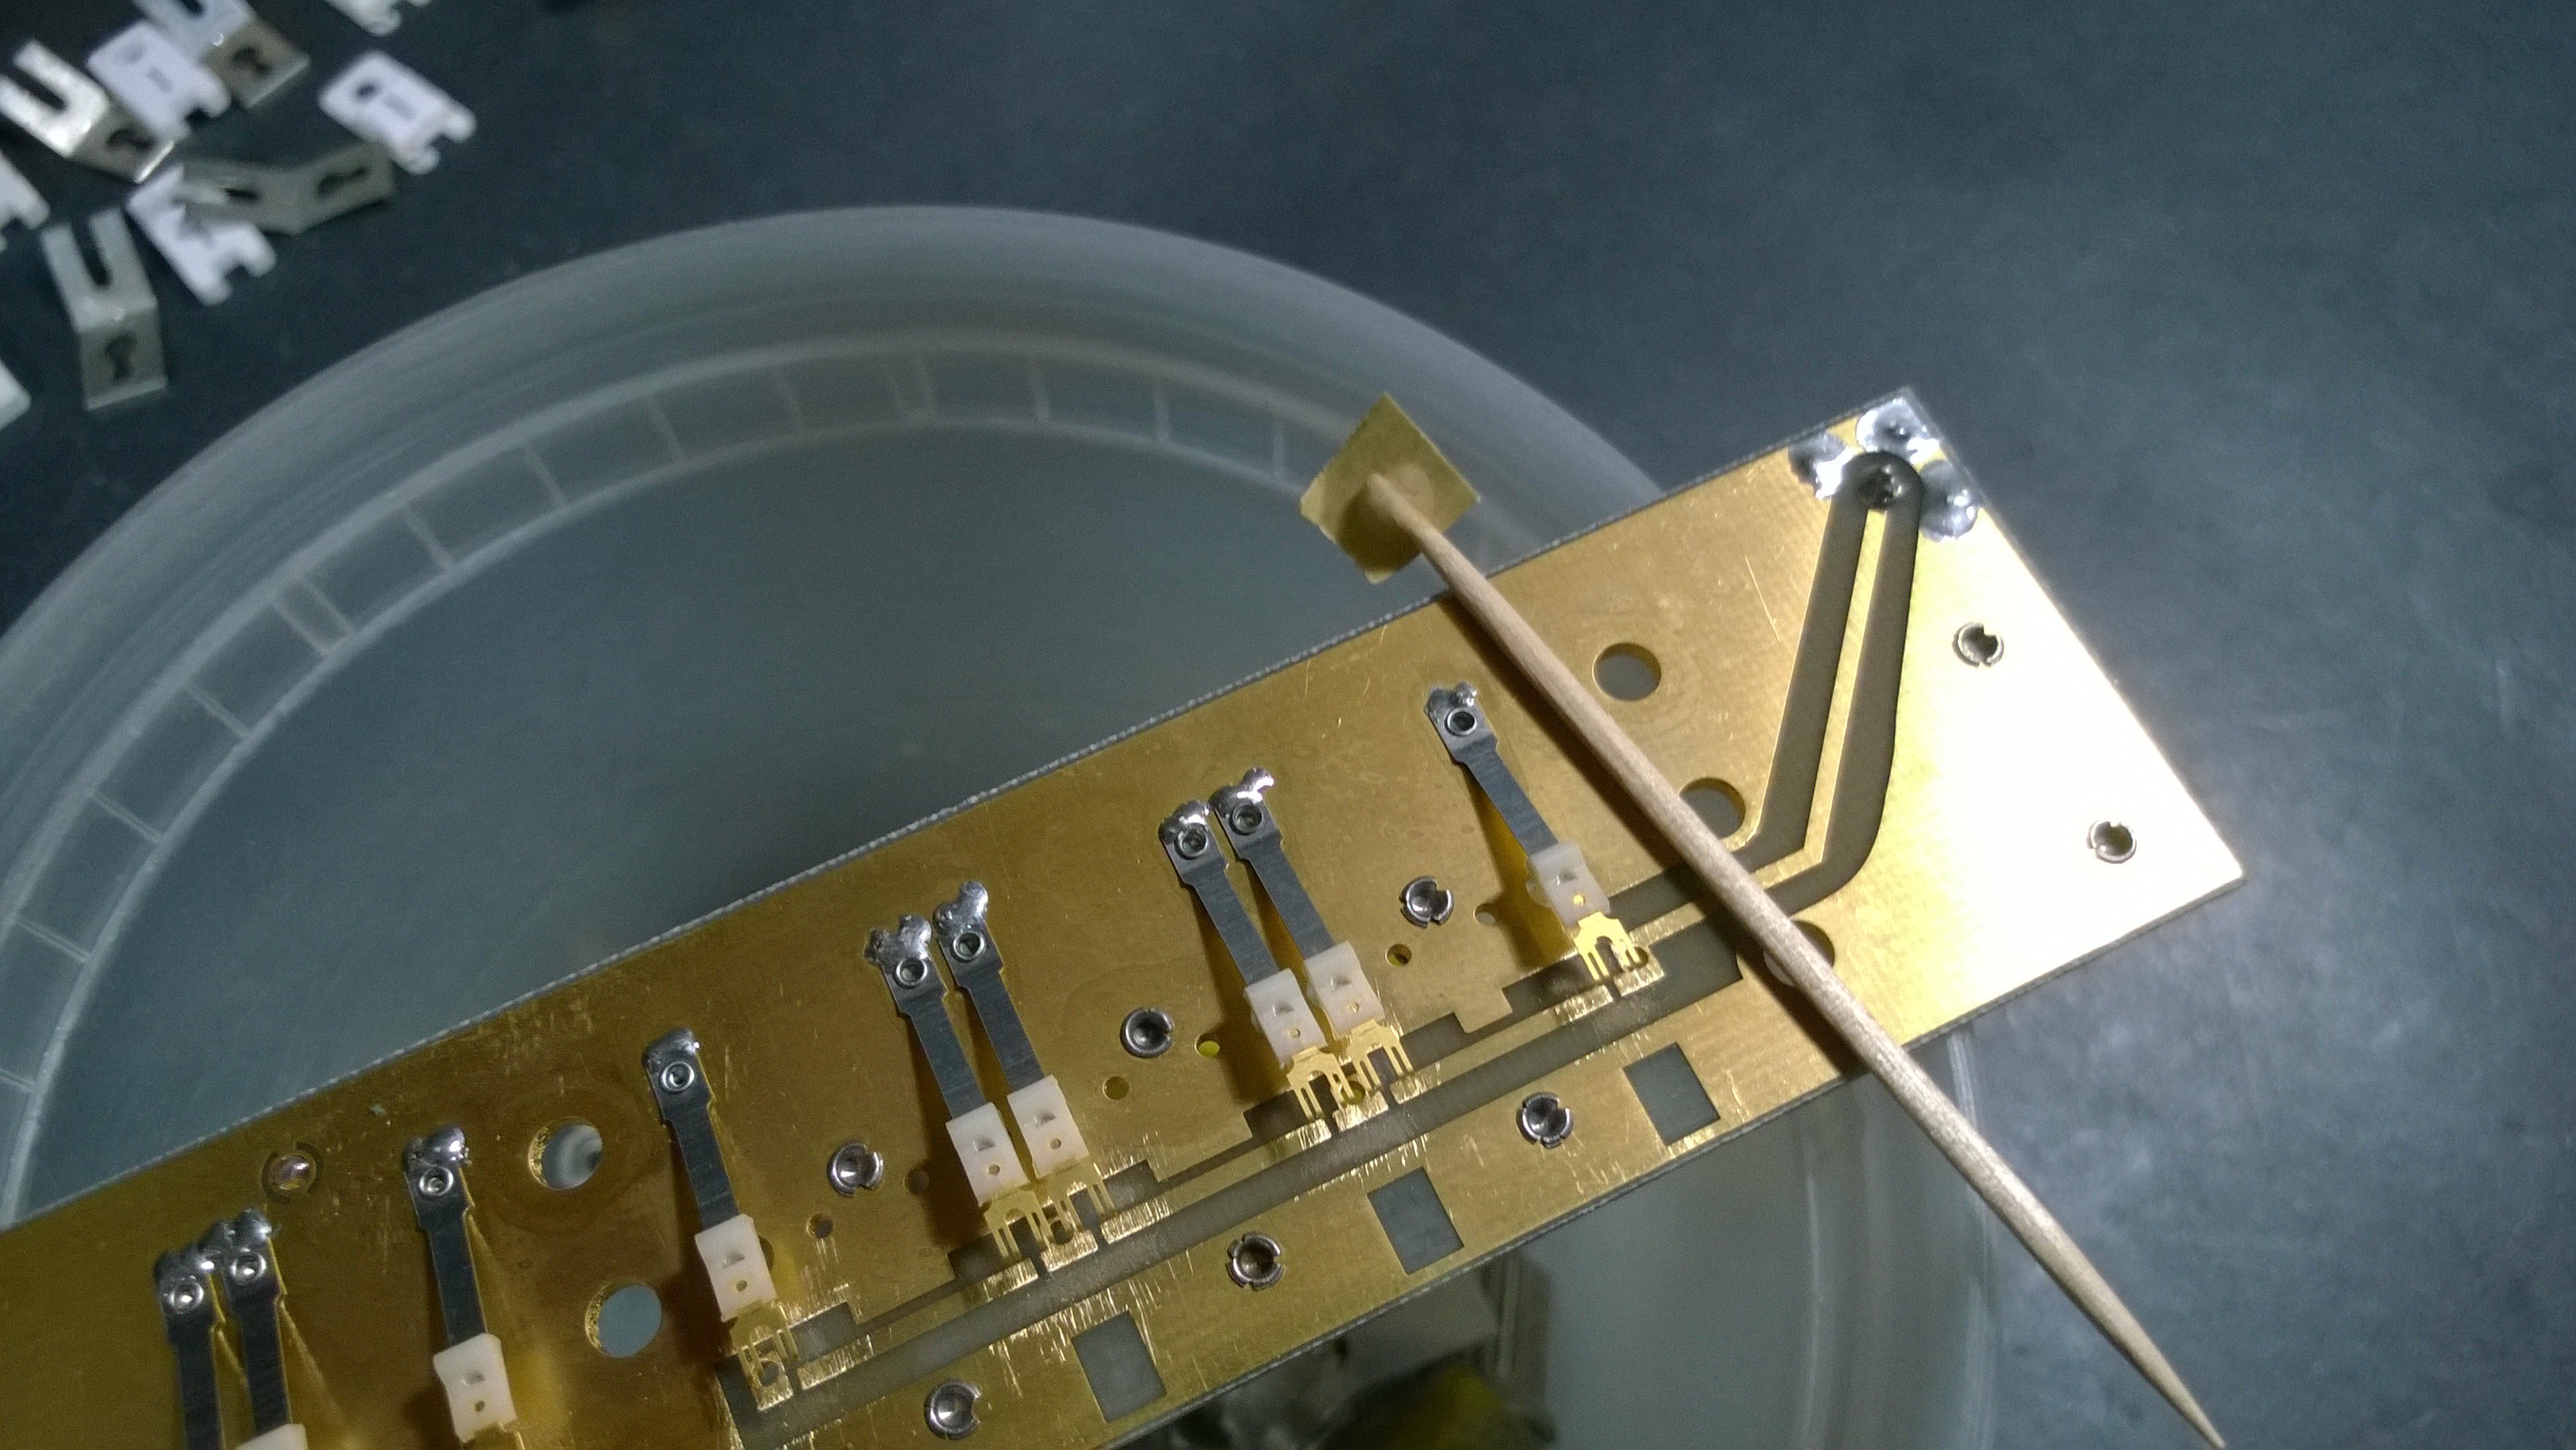
Prepare a small piece of fine sandpaper or emory cloth as shown. What I did was super glue it to a toothpick. Use this to polish the board surface under the finger contacts until shiny. On the backside of the board the finger contacts are open so this is easy. On the front of the board the contacts are closed. VERY CAREFULLY pry up one contact at a time to polish the board. I do NOT recommend attempting to polish the finger contacts themselves. They are easily damaged and you'll never restore proper operation. We will deal with any potential contamination on the fingers later.
After the polishing is complete soak the boards in 100% IPA for about 10 minutes. Agitate slightly then remove and allow to air dry or use a blow dryer.

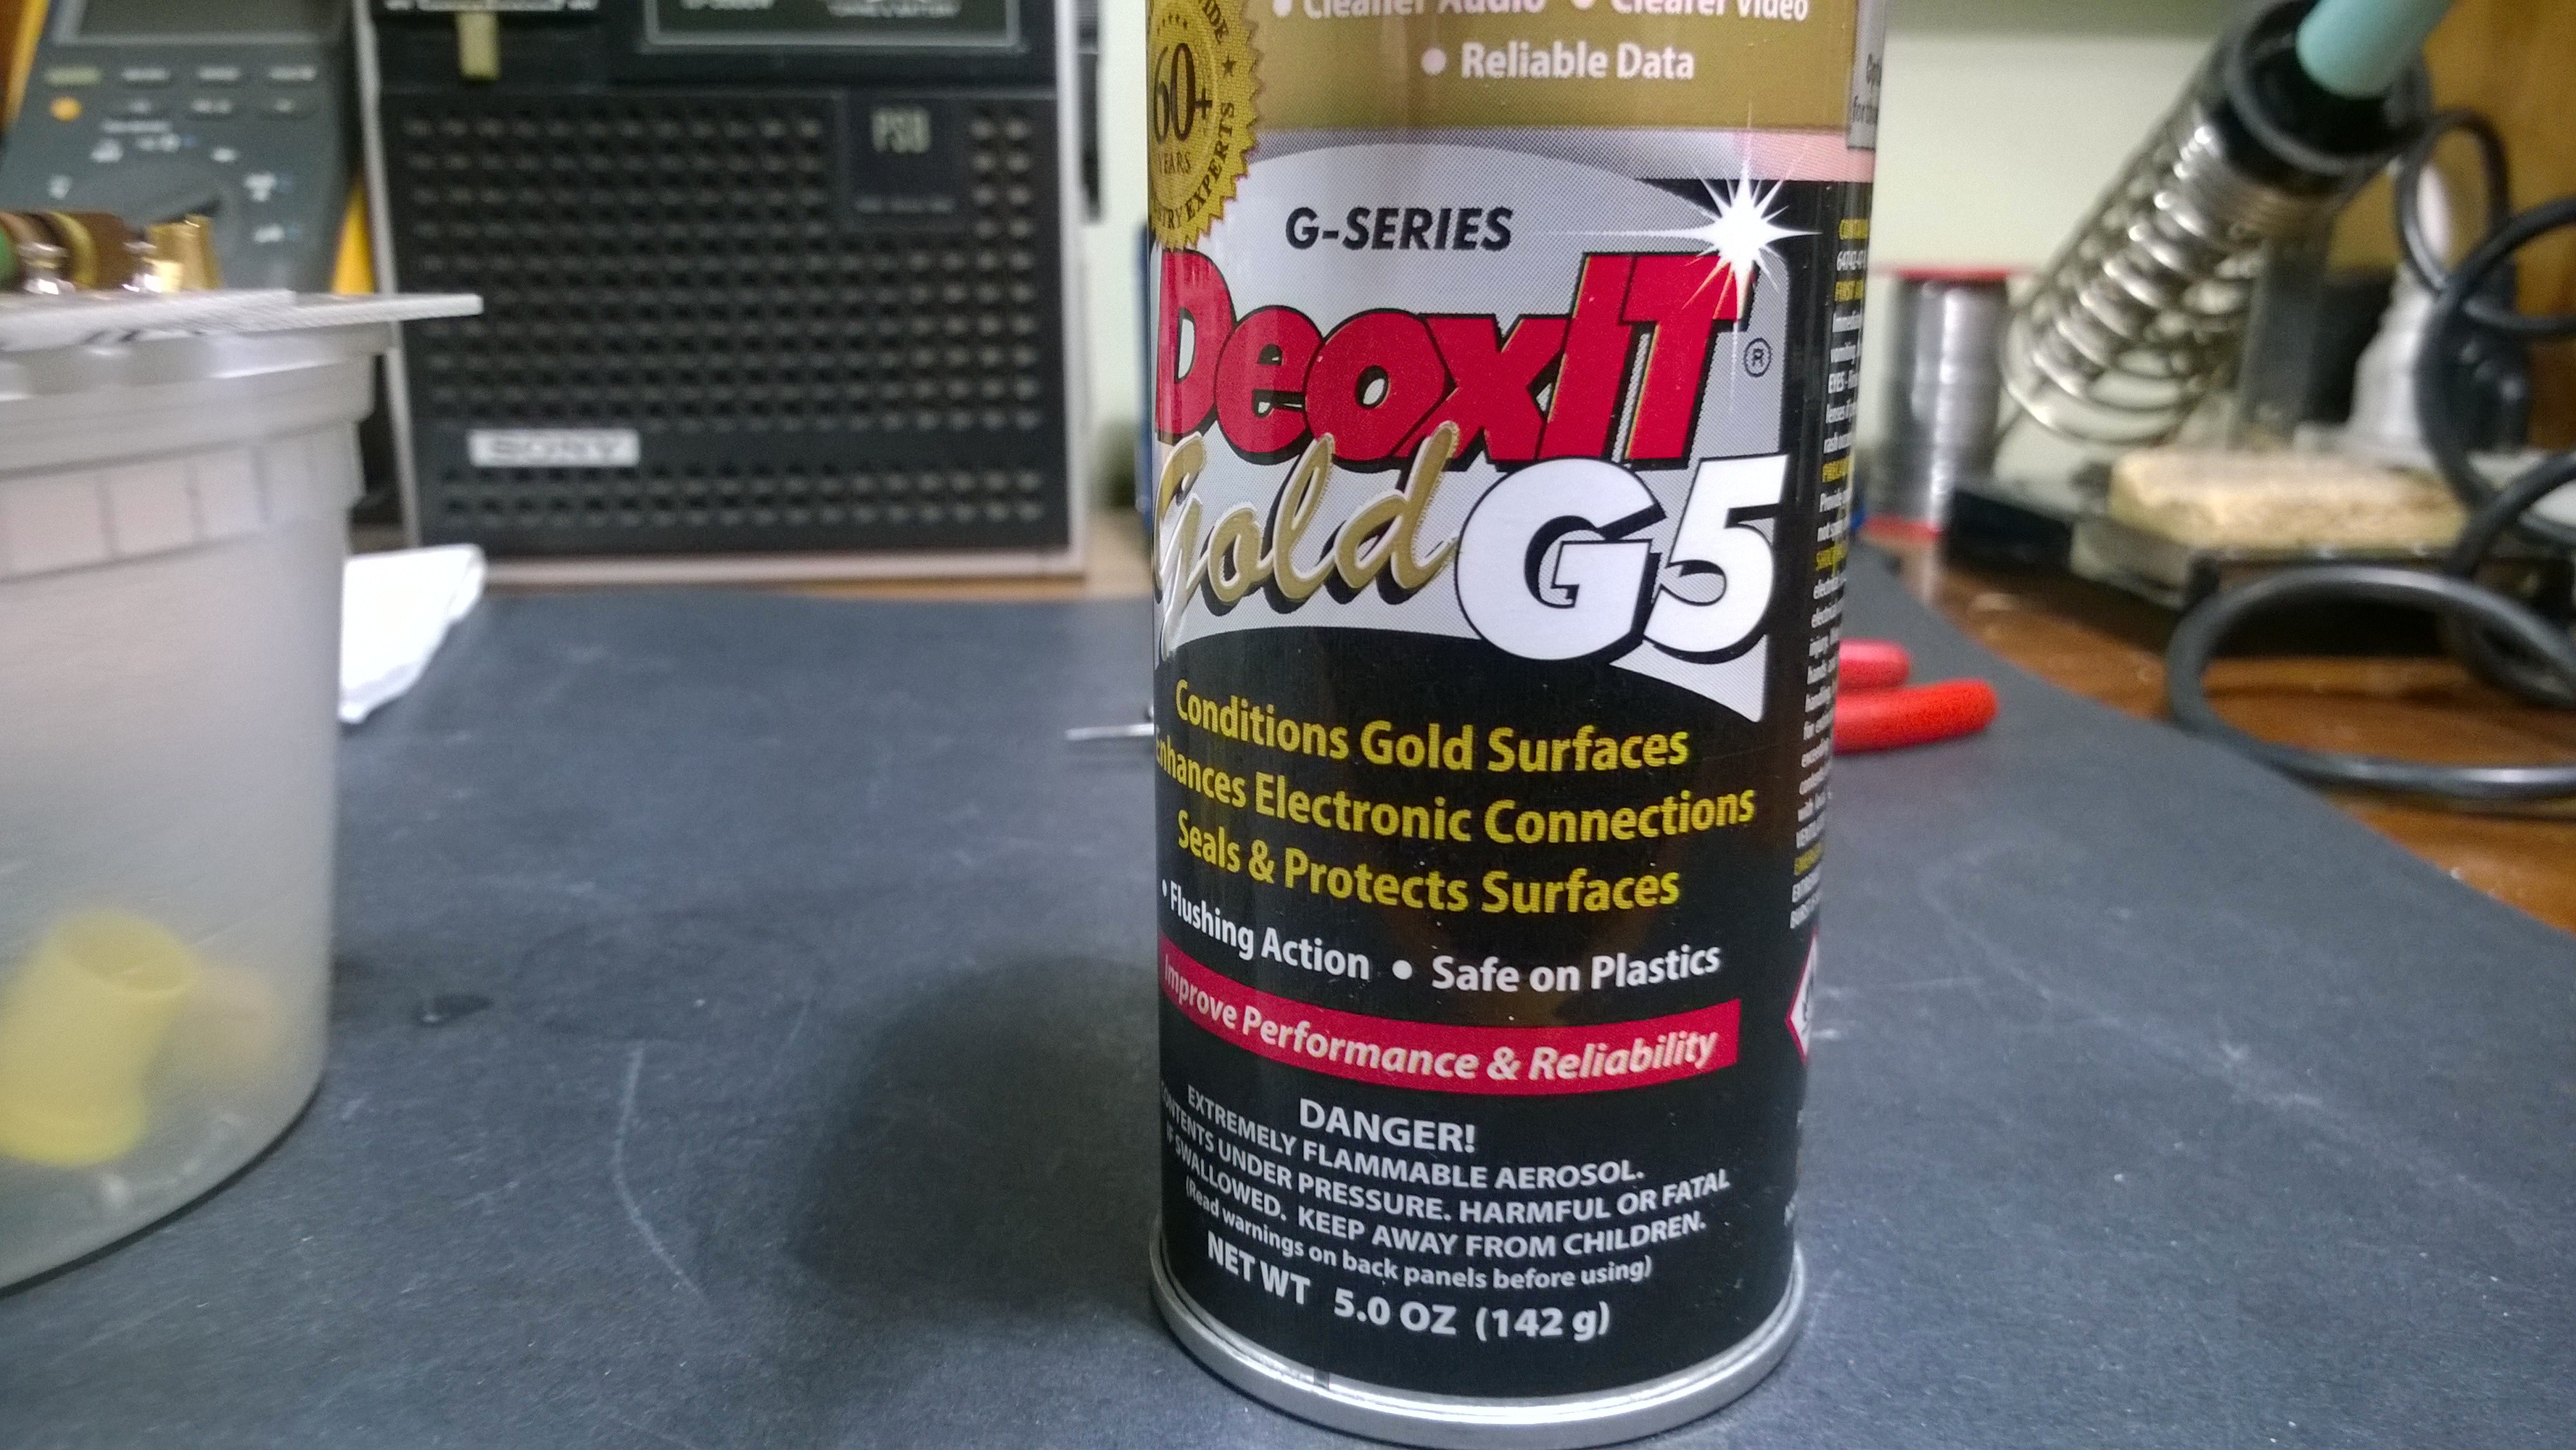
Now we'll deal with contamination on the finger contacts. Deoxit Gold G5. For gold plated surfaces. But don't go crazy spraying it on the board. I used a cotton swab soaked in the deoxit applied to both board surface and finger contact by prying up very carefully. The cotton swab can leave fibers so check carefully. If you have a syringe it will work even better.
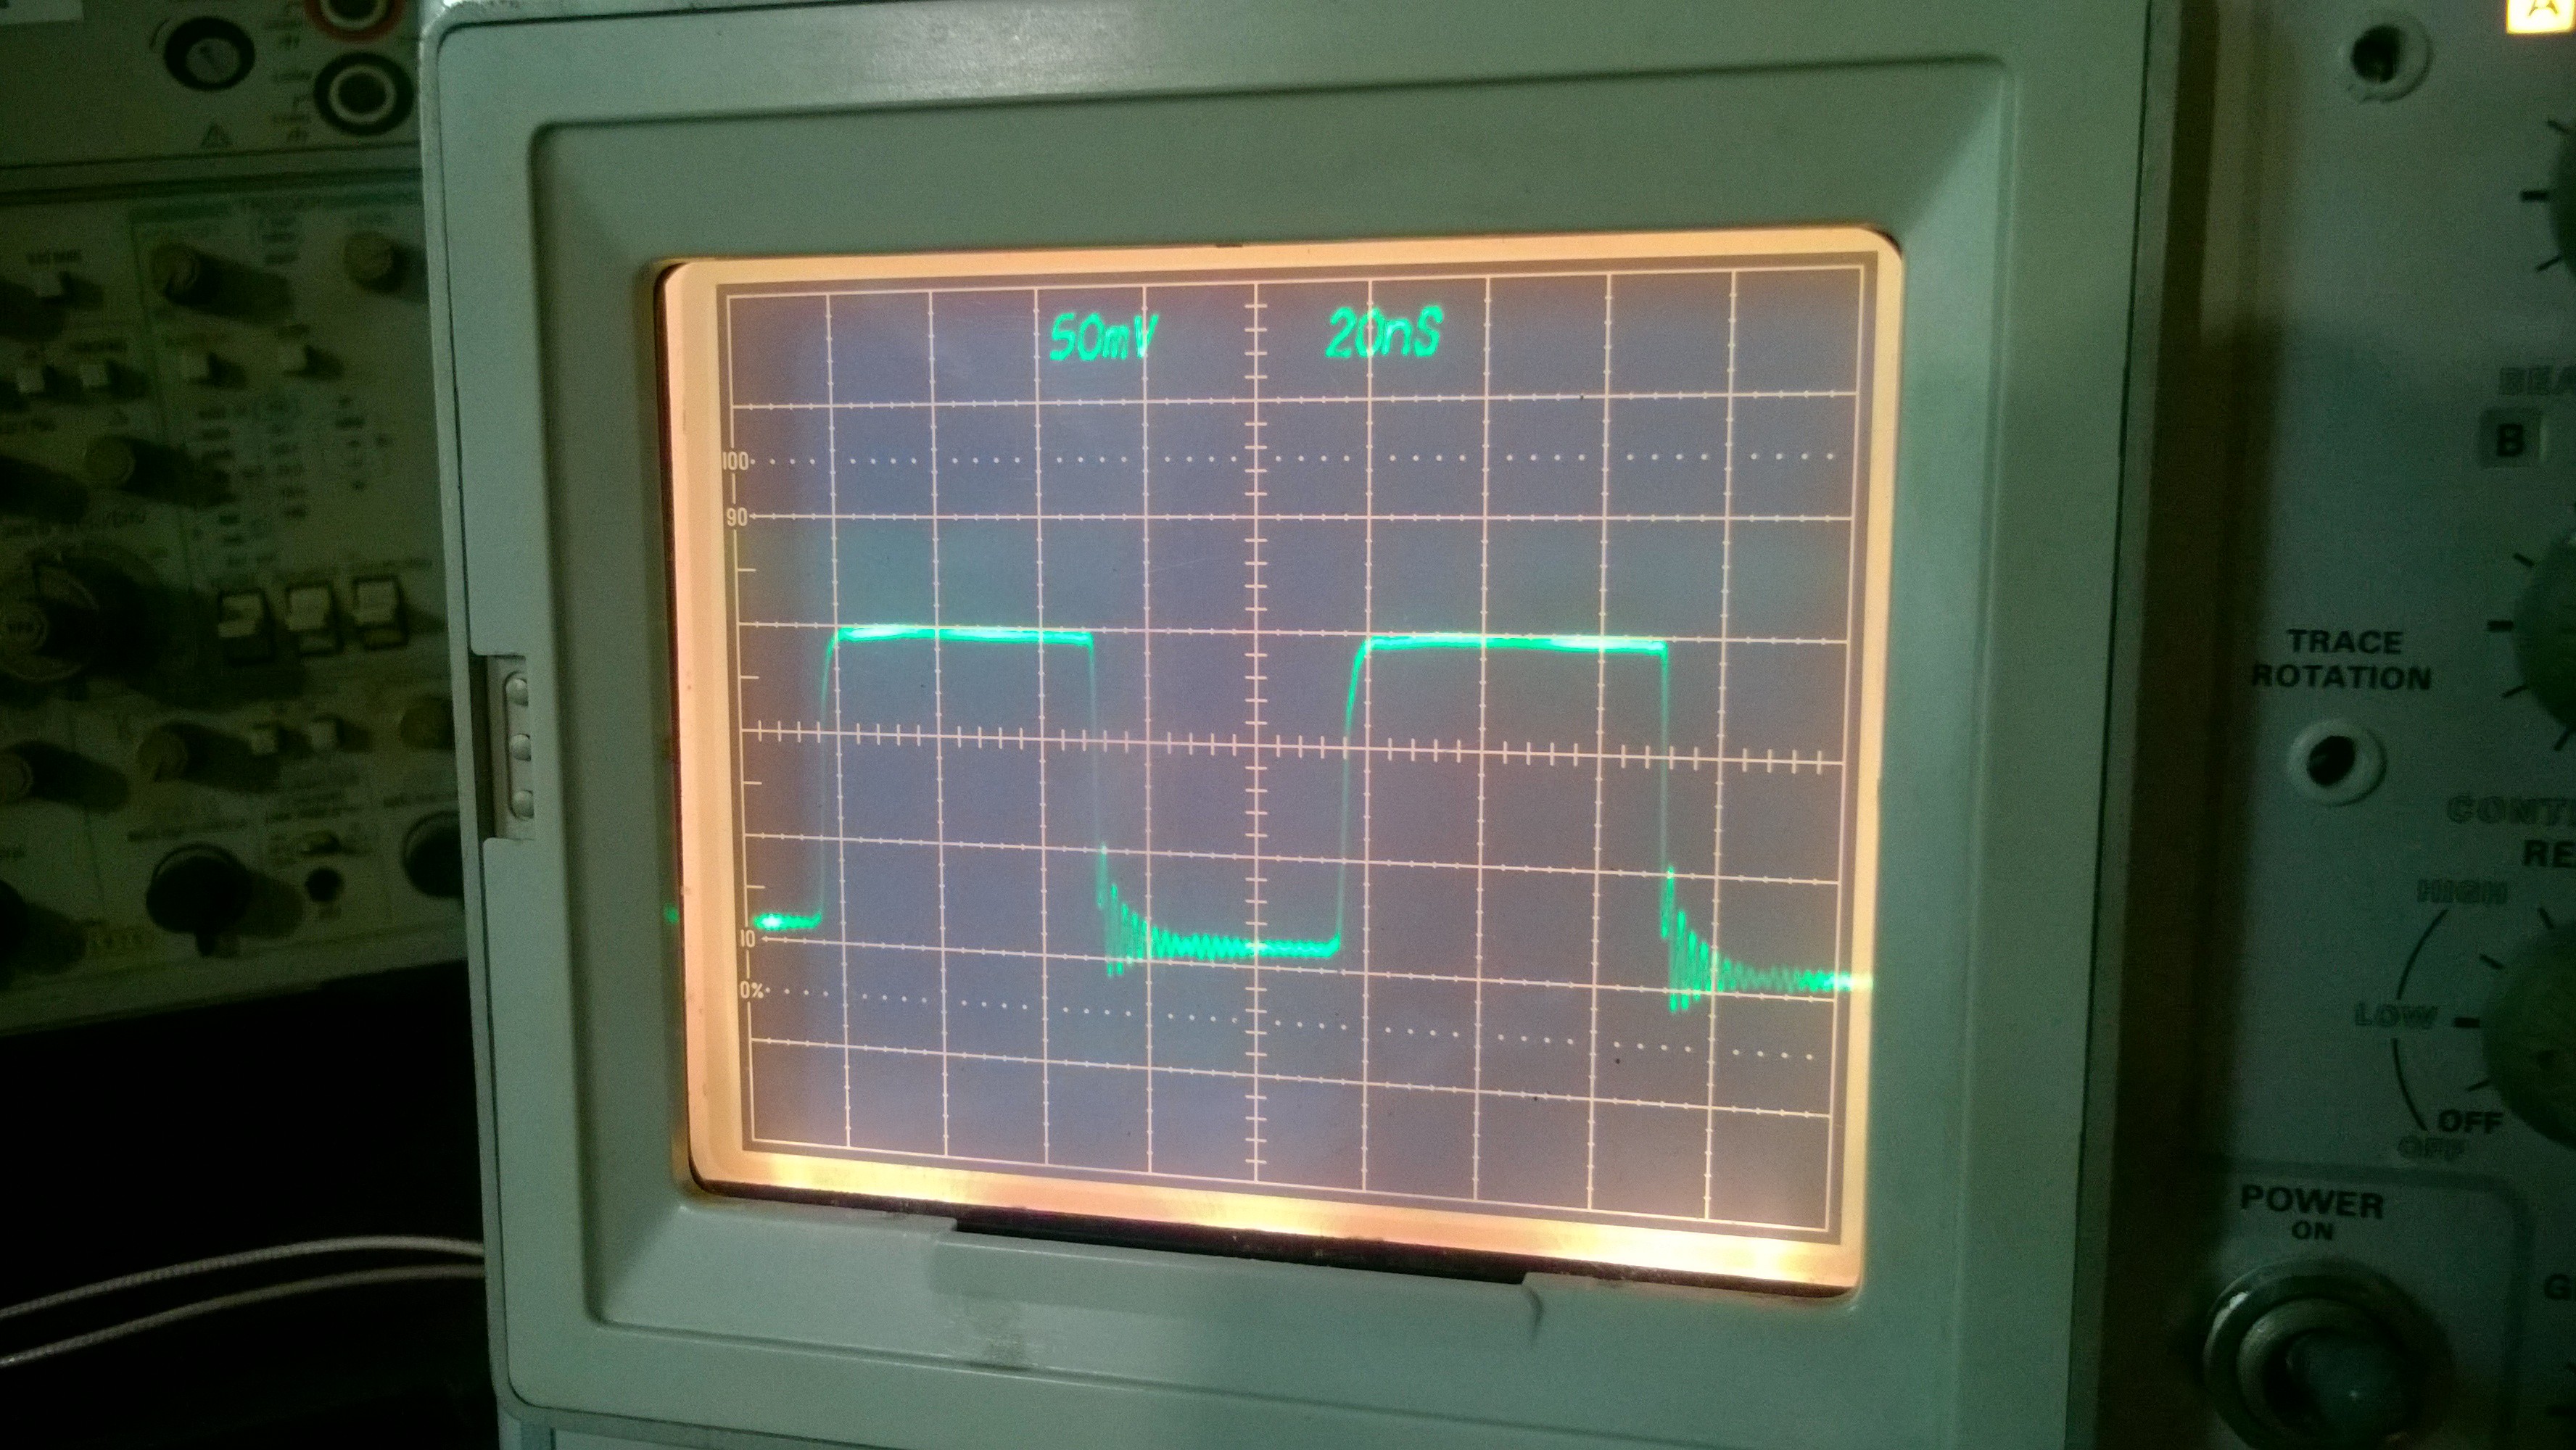
The cleaning is complete. Reassemble the switch decks and check the results. In the case of this 7A24 vertical plug-in it was perfect and rock steady across all switch ranges. Here's an example of a 10MHz square wave from a Heath IG-4244 Oscilloscope Calibrator.